Groups in Laudio make it easy for administrators to customize access to features and permissions for everyone in that group at once.
Groups can be added, searched, renamed, or deleted as needed. Adjusting a group’s settings ensures users have the right access for their roles within your health system.
Steps to Create Groups
- Click "Groups" on the left-hand side of the Admin Portal.
-
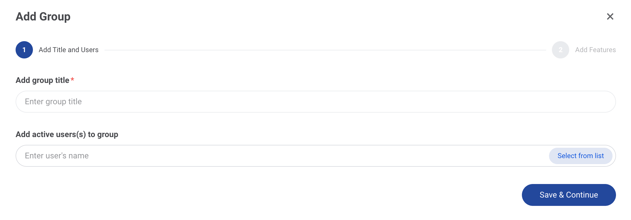
Click “+ Add Group” to create a new user group.
-
Enter a Group Title. For example, Radiology Educators or Admin Assistants.
-
Add Active Users to the group by selecting them from the list or typing in their names.
-
Click “Save & Continue”.
-
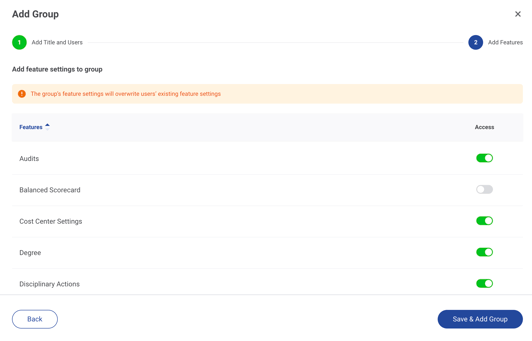
Adjust the Features and Team & Access settings for all users in the new group. Note that for any users within a group, the group settings will overwrite their individual feature settings.
-
Click “Save & Add Group".
Steps to Rename a Group
- Click "Groups" on the left-hand side of the Admin Portal.
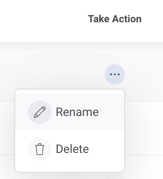
- Click the three dots (...) to the right of the group name.
- Click "Rename".
- Make any edits needed to the name.
Steps to Edit a Group
- Click "Groups" on the left-hand side of the Admin Portal.
- Click the row of the group you would like to edit.
- There are a few options to updating the group:
- Removing a user: Click the user's name, click the three dots (...) and then click "delete".
- Updating the group features: Click "Features", update the features that are on/off for the group and then click "Apply Settings to Group Users".